Showing posts with label Memories Collection ✿. Show all posts

Monday, July 1, 2013

Product Challenge - Day planner using Teresa Collins Memories Collection

Hey everyone! I was so excited to be a part of this challenge! I loved the idea of going up against one of my team mates to share and hopefully inspire you over on the Teresa Collins team blog today! I loved that Yvonne and I have created calendar/day planners using the same collection - MEMORIES, but each of our projects are very uniquely different! Please head over to the Teresa Collins design team blog to see the great project Yvonne created too!!


To create my book, I used the stitched notebook and file folders to create my base pages.
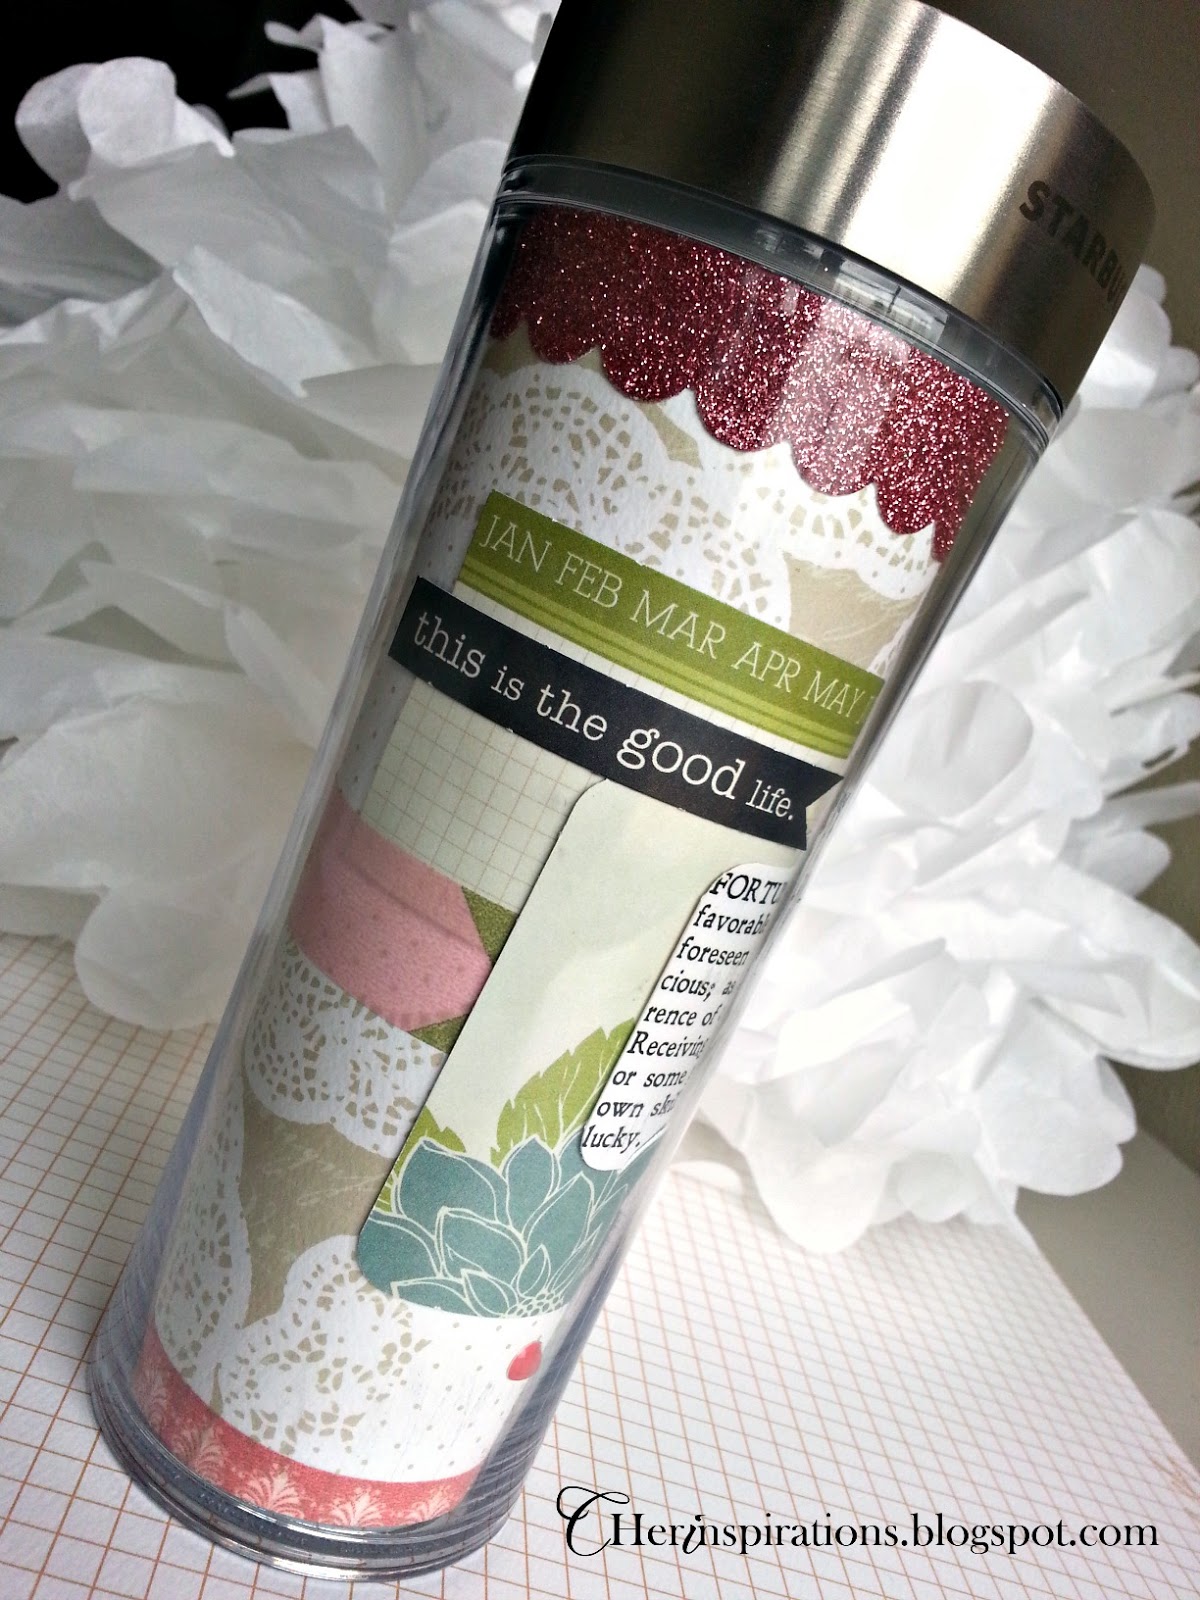
Each month/page I created a pocket using the decorative papers cut on a slight angle. I cut small doilies in half (from my stash!) then added them to the fronts of each of the pockets. For the "TABS" I used the filmstrip paper from the collection, I cut it into a strip then cut the numbers as I needed them for each month!! I think it looks so cool!!
I created Journal cards from the papers in the collections and added some manila tags so I can jot down notes as I need. I love texture and paint so yes, I did paint all of the edges of everything! I love how the bright white paint looks with this book!
To add the file folders from the collection, I cut them to fit the height then using washi tape as my adhesive I binded them to the stitched notebook. You can see how the filmstrip washi tape overlays the seam of the April page and the file folder I added. 
I love the pocket envelopes in the collections and I added one to the back of the file folder.

I loved decorating the manila tags with layers from the embellishments. 

Here is where I added another file folder, again using washi tape.


I added the largest envelope to the back page, this will be a great spot to save important receipts, etc.

Thank you so much for looking!! I hope you are inspired to create a fun and useful book!
Be sure to head over to the Teresa Collins Designs team blog today to check out Yvonne's project!!http://teresacollinsdesignteam.blogspot.com/


Wednesday, June 5, 2013

Did you say coffee?? Let's decorate the coffee tumbler from Starbucks!


Ok, so the one I got for Mothers day didn't work out so well but I found this new one at Starbucks and it came with a sharpie and it's stainless. It has a little more "wiggle" room to add more layers. YAY!! 


So I just gathered up some of my favorite pieces from the Teresa Collins Memories collection. I wanted this month's "theme" to highlight the dictionary/quote from the papers that says fortunate.

I traced my template onto my base paper then cut it out. Then I thought the pink glitter border strip would be a great touch! Because the top of the template is rounded you are going to adhere it to the top and just trim the excess off.

Here I layered my quote onto one of the journal cards. I cut around a few of flower petals with my exacto knife to slide in my dictionary card under it.


Once your happy with how it looks start adhering everything down onto your base. 


I added a few enamel dots, I was a little nervous if it would work because of the depth but with this tumbler it worked out ok! 


I am excited and it's so pretty to look at! I hope you are inspired to create one of your own!Till next month!! I'm thinking, a little Stationery Noted with the Red, White and blue for Fourth of July!


Monday, May 27, 2013

Calendar Mini Album tutorial using Teresa Collins Memories

I am a big fan of this collection MEMORIES! This is my third mini album I have created using it. This time I created a calendar mini album using mainly the 6x6 paper pad. I have listed all of the supplies and directions for you to recreate this same little book.
To start: This part is optional but I LOVE paint and I paint almost all of my edges of my books unless I know I'll be teaching it for a class. So, it's up to you but I like the finished look it gives so I painted all my edges of my book and pages in bright white paint.

Then cut out all of the months from the calendar paper and adhere them onto chipboard then set aside - **TIP** easiest way is to lay and adhere the calendar sheet onto a 12x12 chipboard then cut them all at once. Then corner round each corner of each month.


For your cover: Cut two sheets of your doily paper 4 3/8"h x 4 1/2"w and adhere to front and back from your edges. Cut one sheet of your subway calendar paper for your spine 4 3/8"h x 4 1/2"w and adhere to your spine. **TIP** - I don't put adhesive on my spine just on the part that wraps around on the front and back so when it opens and closes it won't rip the spine. :)

Inside Cover Pages (not shown) cut two sheets of the yellow dots paper 4 3/8"h x 4 3/4"w and adhere.

All of your inside pages: cut them 4" x 4"
adhere the front side first, flip it over, punch your holes, adhere the back side, punch your holes then corner round each out side edge.
Papers are all from your 6 x 6 paper pad: Jan - blue flowers, Feb - yellow dots, March - Red Hexagons, April - blue diagonal stripe, May - blue dots, June & July - Ledger, August - blue dots, Sept - Blue diagonal stripe, Oct - red hexagons, Nov - yellow dots, Dec - blue flowers.

Months - READ this whole sentence before you start gluing or you will be sad sad sad when it's over. The front of each page (every other month) is a pocket page. Each calendar page will hang over the edge - do not put glue or tape where it will hang over. So, adhere each month Jan, March, May, July, September, and November as a pocket to the right of the holes you don't want to cover them up. If you look closely at my pages I staggered them. Then flip them over and adhere the other months accordingly and lining them up to the back of the front calendar. Now, set your book aside for a minute.

Lets create your pull out tags, I used the 12 x 12 ledger paper and if you scroll down you can see I used both sides, I mainly used the white side but it's up to you. You are going to cut 6 strips - 8"w x 2 1/4"h (the last strip will be cut sideways on your paper), then fold them in half, adhere them together, the fold side will go in your pocket so you don't need to corner round that side, just the outside edge. Then use your chipboard elements with the months and adhere them to the edge of each tag creating "tabs". You can put them in your book. ;)


So for the rest of your book you can decorate it up as I did or embellish how ever you like. When I wrote my dates in the calendar I started at the top left so this can be used over and over again just for birthdays, anniversaries not a yearly calendar that is only used once, but used for many years to come! 

Supplies:
Maya Road 4x4 album you will only need 6 of the pages.
Teresa Collins Designs Memories Collection:
12 x 12 papers: Words (side b- Yellow dots), Calendar, Ledger
6 x 6 paper pad comes with two sheets of each and you will use both sheets in this project: Doily, subway calendar, blue flowers, yellow dots, red hexagons, blue diagonal stripe, blue dots, ledger.
Embellishements: Stickers, Chipboard elements, buttons, enamel dots, die cut borders, washi tape, stitched garland, die cut sheet.
Other: 1/8" red line tape for pockets, other adhesives for pages and embellishments, corner chomper, 1/4" hole punch, thin chipboard for calendar pages, white acrylic paint.

I hope you are inspired to create one of your own and I hope you enjoyed the project!! 

More Inspiration ✿

Related Posts Plugin for WordPress, Blogger...